
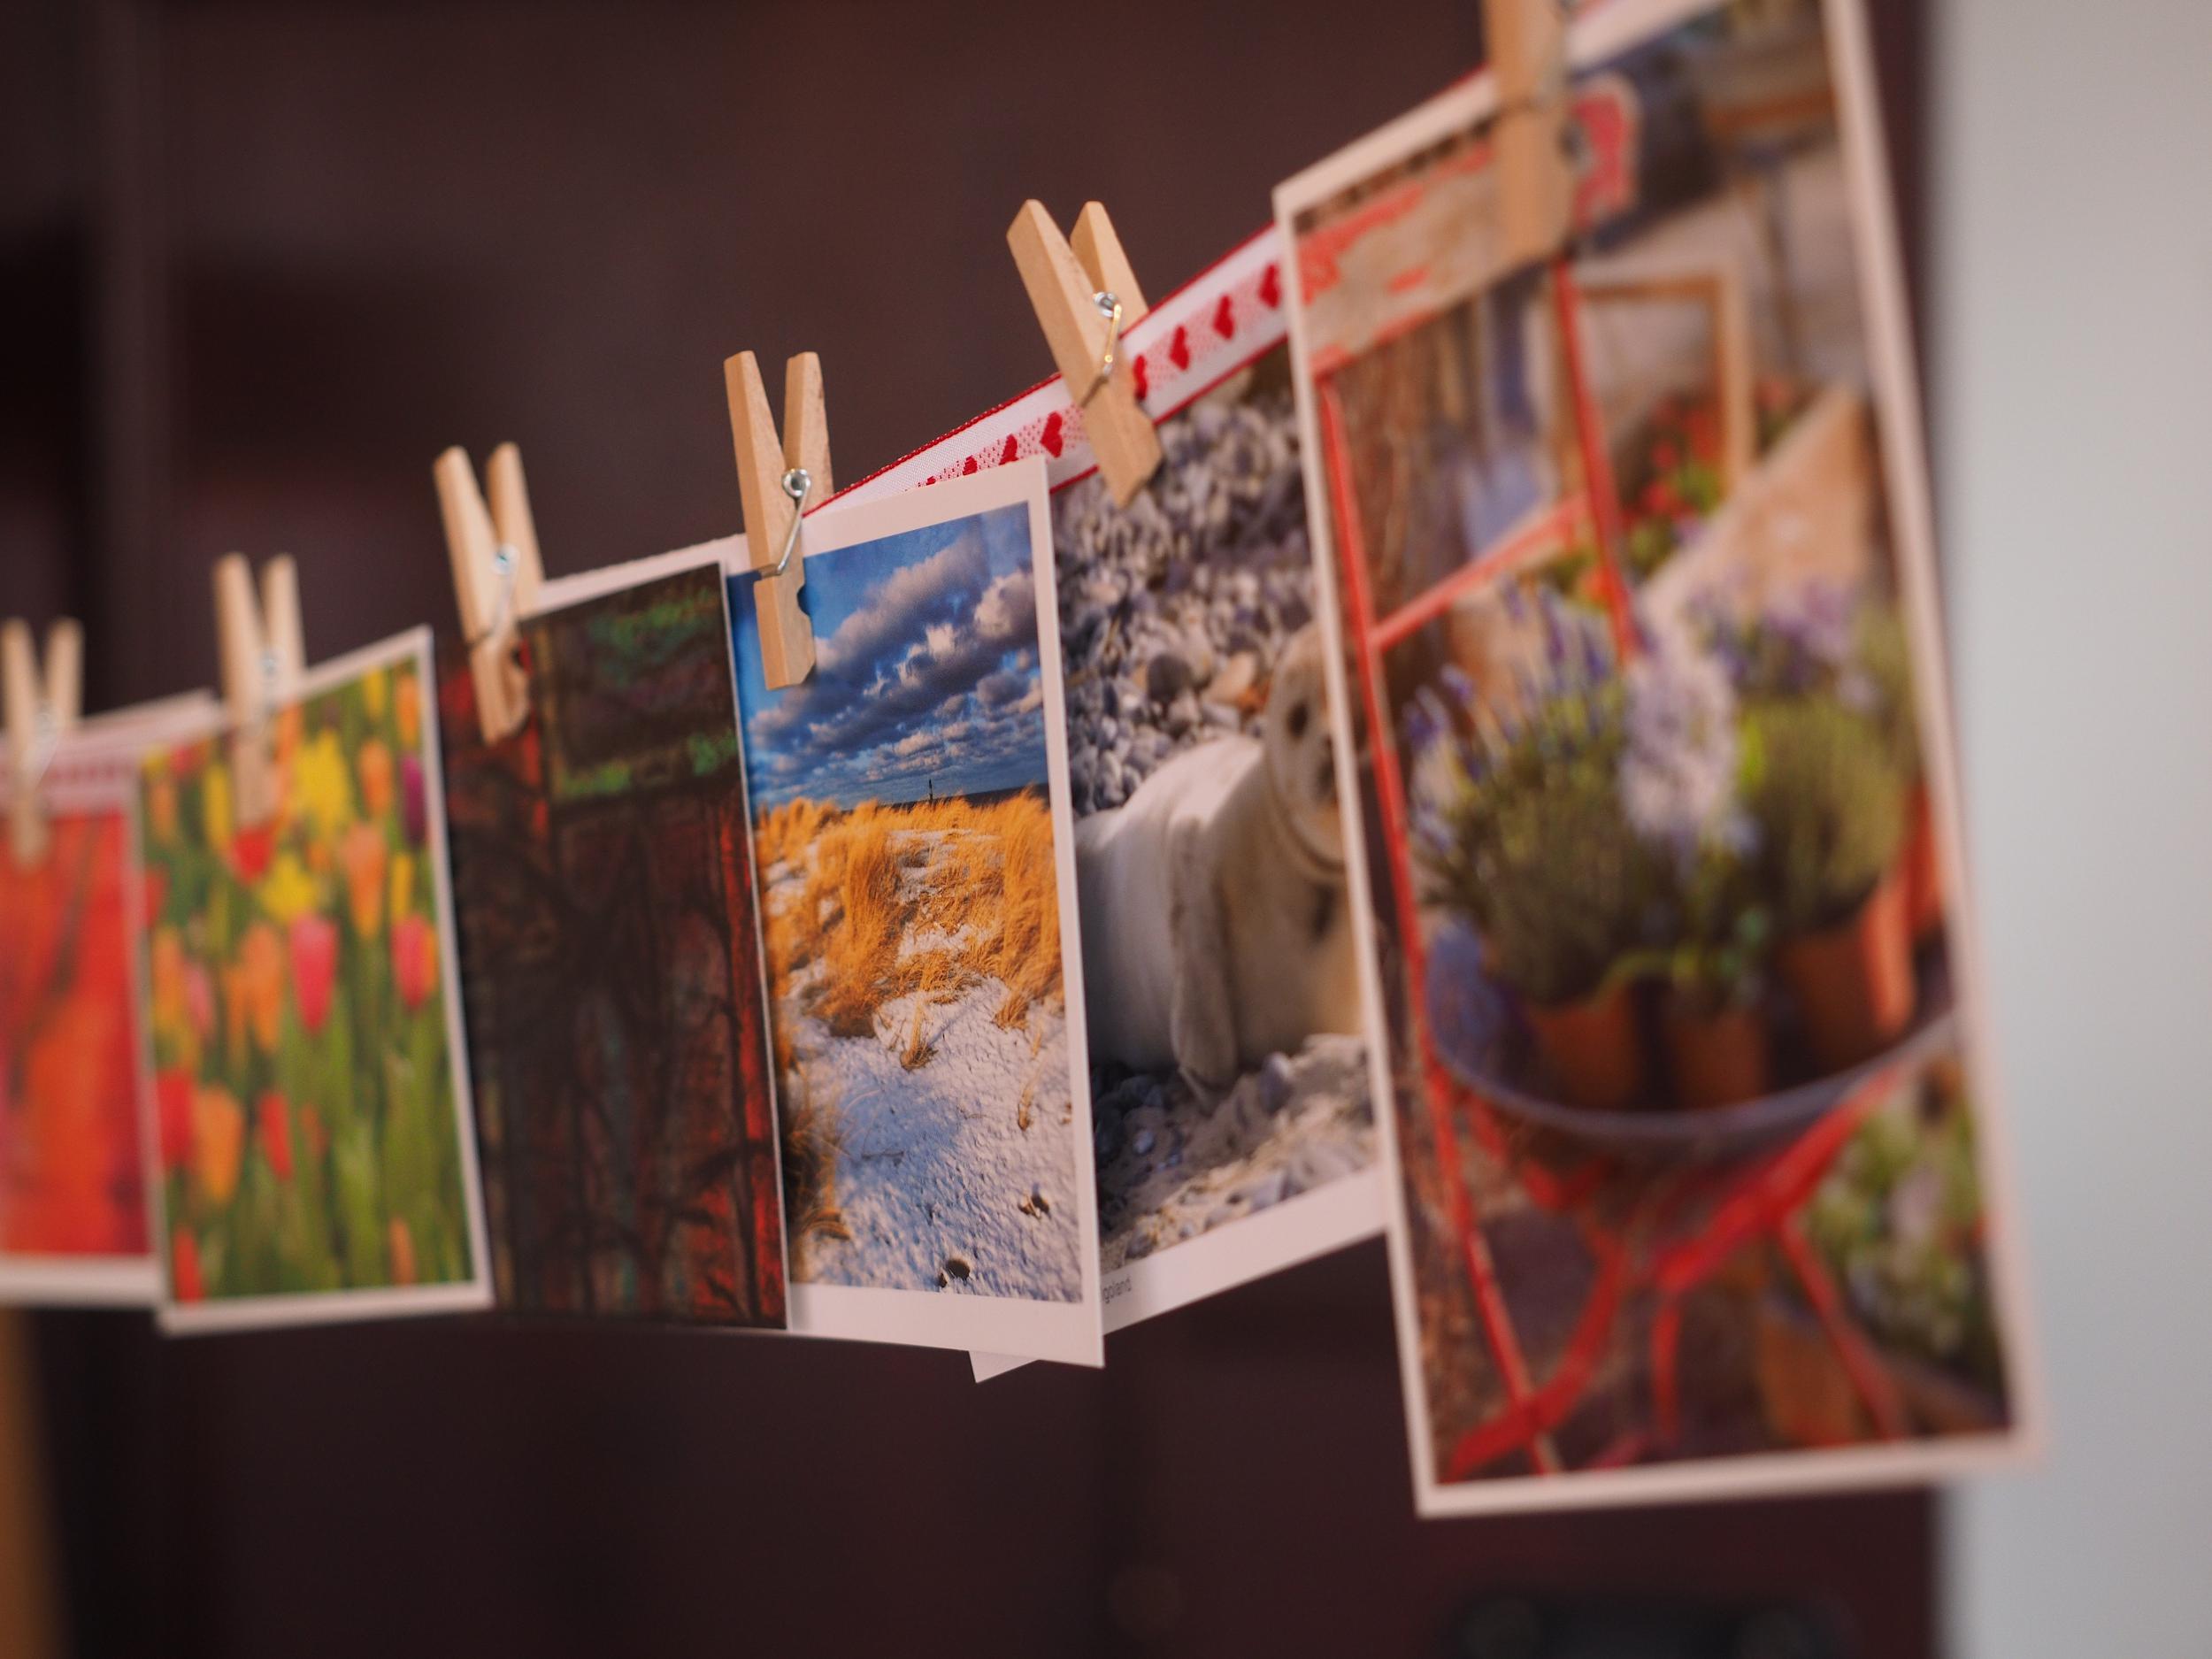
If you’re a budding tech wiz then the word ‘install’ won’t bother you. However, I know many of you out there who are choosing moody lightroom presets because they are in fact so easy to install. So don’t let the word ‘install’ put you off. It really is simple and fast.
Where Do You Find Moody Lightroom Presets?
- websites
- applications
- graphic artists / photographers
It’s clearly useful to actually have some presets before you can even think about installing them. If you search online, you’ll quickly see that there are many options. There exists a range of presets costing from a few dollars to tens of dollars for grouped presets. Some websites even offer Lightroom mobile presets for free. Have a think about what matters to you because you’ll have to decide your personal trade-off between style, quality and price.
When choosing your Lightroom mobile presets, it can be helpful to browse the ‘best of’ or ‘top Lightroom mobile presets’ lists and cross-check those that stand out for you. You’ll also soon find that each provider has their own approach and style. Some are photographers and some are graphic designers. Others will hand-hold you throughout the installation process as well as the creative one. On the flip side, others again will simply sell on price. Your decision will depend on what you are using your presets for and what level of service you feel you need.
How do you start installing Lightroom Mobile Presets?
Ok, so now you know where your Lightroom mobile presets are coming from but what happens next? First thing to point out is that Lightroom mobile presets will be given to you as DNG files to download. Adobe developed and launched DNG as a ‘raw image’ format in 2004 and it literally means ‘Digital Negative’. You are essentially working with the digital version of photographic film in the modern ‘dark room’, otherwise known as Adobe’s Lightroom. The concept hasn’t really changed although, obviously, the format is different.
As you’d expect, DNG files are large and are therefore often presented in zip files. You do however also have the option of saving them directly onto the cloud or into some form of dropbox or Google drive with your laptop. Most mobile phones won’t be able to process zip files although there are apps to allow you to do this on both android and iPhones.
Once you have your DNG files then the fun can start. You can now follow the process but let’s go into more details:
- Import DNG files into Lightroom Adobe application
- Create Lightroom Mobile Presets
- Edit your photos
Importing DNG Files
By now you should have installed the Lightroom mobile application onto your phone. Make sure you save your unzipped DNG files from your computer onto the cloud or directly onto your phone through an app. Either way, make sure you can access them through your phone. Once you have your DNG files saved, then you can go into the Lightroom mobile application to import them. It’s useful to create a new album in the application first and then you simply ‘add photos’ by clicking on each DNG file.
Creating Lightroom Mobile Presets
Now that you have your DNG files in your Lightroom mobile application you can start creating. Go into the app and click on one of the DNG files. You’ll then see a list of options, ranging from colour, light and effect, all the way to optics and geometry. Play around with these and select the combination that you feel works for you. The great thing is that your original photos will be saved even once you’ve applied your presets. Remember though to name your presets because you might have several you want to play with. I don’t know about you but it’s easy to forget these things.
Editing your Photos
You’ve created your presets so now you can apply them. Go into your photo gallery and choose a photo you want to edit. You’ll see a Lightroom mobile presets icon at the bottom of your photo when you open it. Click on it and you’ll have your list of presets from which to choose from to apply to that photo. Click the ‘tick’ mark at the bottom of your screen when you have chosen your preset and your photo will be edited accordingly.
Parting Words on How to Install Lightroom Mobile Presets
Whilst installing Lightroom mobile presets is easy and fast, part of the fun is experimenting with the outputs. Don’t be afraid to create different combinations of colour, light, effect, detail, optics and geometry. This is the exciting creative part that allows you to develop your style. You might even decide that you want to apply a different style for different collections of photos. Essentially, there’s nothing holding you back now. You can also rest at ease with the knowledge that the quality aspect is covered for you through the presets themselves. You simply need to focus on being creative and having fun so don’t hold back and enjoy!